









Last-Minute Halloween Decorations: Same-Day DIY Ideas From What You Already Own

Last-Minute Halloween Decorations: Same-Day DIY Ideas From What You Already Own
Halloween 2026 falls on a Saturday — October 31 — which means the party, the trick-or-treaters, or both are coming to your house today, and your house currently looks like… a house. No problem. Everything in this guide comes out of the junk drawer, the linen closet, and the recycling bin: black trash bags, old sheets, printer paper, cardboard, jars, and string. No shopping trip, no craft store run, nothing that needs to dry overnight.
The order matters more than the effort. Work outside-in — door first, because that’s what people see — and do lighting last, because dim light forgives everything. These last minute Halloween decorations diy projects cover the decorating only; for themes, food, and games to match, pair them with our full guide to Halloween party ideas.
The 1-Hour Whole-House Plan
Before you cut a single bat, spend five minutes gathering supplies in one box: black trash bags, scissors, tape, a marker, printer paper or construction paper, cardboard from the recycling, a white sheet or two, cotton balls, string or yarn, clean empty jars, and every battery tea light, LED candle, and strand of plain string lights you own. One box, carried room to room, is what makes this take an hour instead of an afternoon.
Then run the clock like this:
- Minutes 0–10 — the front door. Tombstones, a trash-bag wreath or streamers, one sheet ghost. Details in the next section.
- Minutes 10–25 — paper cutting. Sit down once and cut everything in a single batch: bats, window silhouettes, garland shapes, potion-bottle labels. Cutting in batches is the whole trick — five shapes repeated fifty times looks deliberate.
- Minutes 25–40 — the living room. Hang the garlands and webs, swap in your spooky lighting.
- Minutes 40–50 — the kitchen and party table. Table cover, labels, food displayed as decor.
- Minutes 50–55 — windows and the bathroom. Silhouettes up, one small surprise room done.
- Minutes 55–60 — lights down, LEDs on. Walk the house once, switch off the overheads, and switch on every battery light at the last moment so they last all evening.
One rule for the whole hour: done beats perfect. A slightly crooked tombstone reads as “haunted” anyway.
Front Door & Entry in 10 Minutes
The door is the highest-value ten minutes in the house — it’s the photo backdrop, the trick-or-treater’s first impression, and the only part of your decorating the whole street sees.
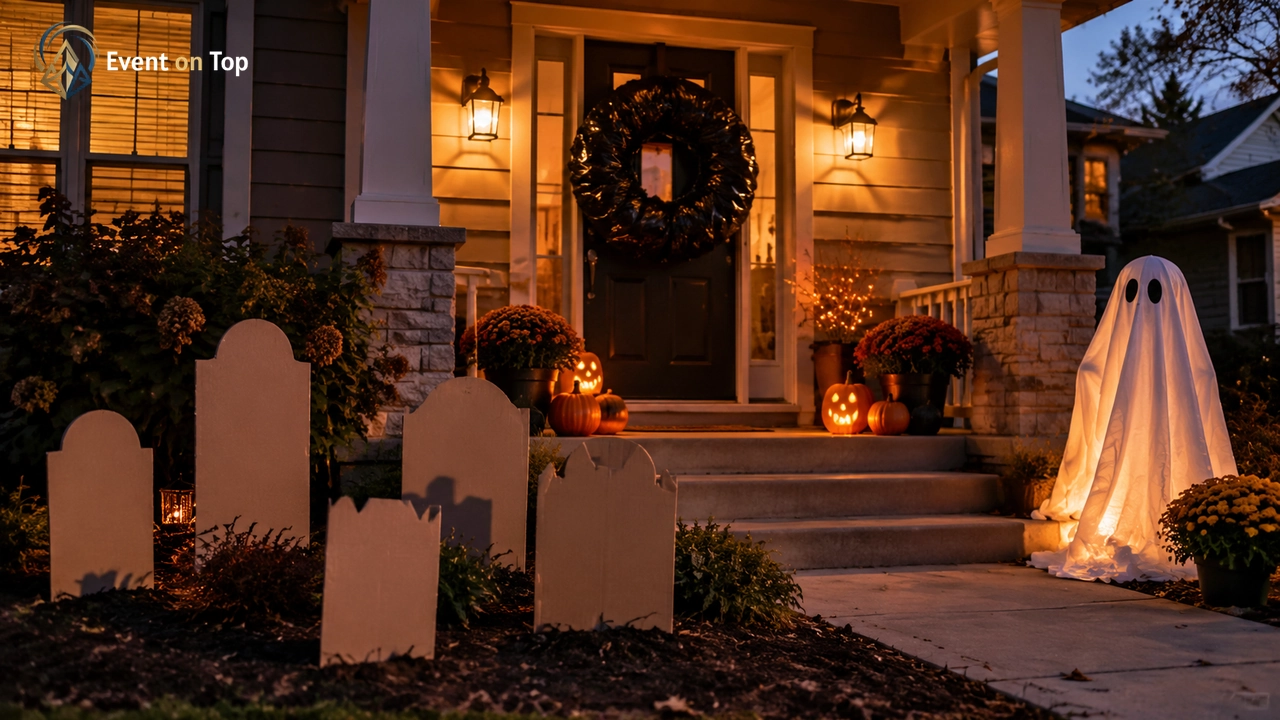
Cardboard tombstones. Flatten two or three boxes, cut rounded-top rectangles, and write epitaphs with a thick marker — keep them funny, not gory (“RIP My Diet,” “Here Lies Last Year’s Costume Budget”). Prop them against the porch wall or tape them to stakes in the yard. Cardboard is paper, so tombstones live outdoors only in dry weather and away from any flame — if a carved pumpkin joins them, light the pumpkin with an LED tea light, never a real candle near cardboard.
Trash-bag wreath or streamers. Cut black trash bags into strips and tie them around a bent wire hanger or a ring of cardboard for a shaggy black wreath. Strips also make instant streamers: tape them along the door frame so they move when the door opens.
The sheet ghost. Drape a white sheet over a balloon, a ball, or a wadded-up towel tied to a broom handle, draw two eyes, and stand it in the corner of the porch or entry. It has been working since childhood and it still works.
Pumpkins you already have. If there’s a pumpkin on your step, even uncarved, group it with jars holding battery tea lights — a plain pumpkin plus glow reads as a display. For a fast carved version tonight, our pumpkin carving ideas guide picks out the designs that take fifteen minutes or less.
Living Room: Lighting Does the Work
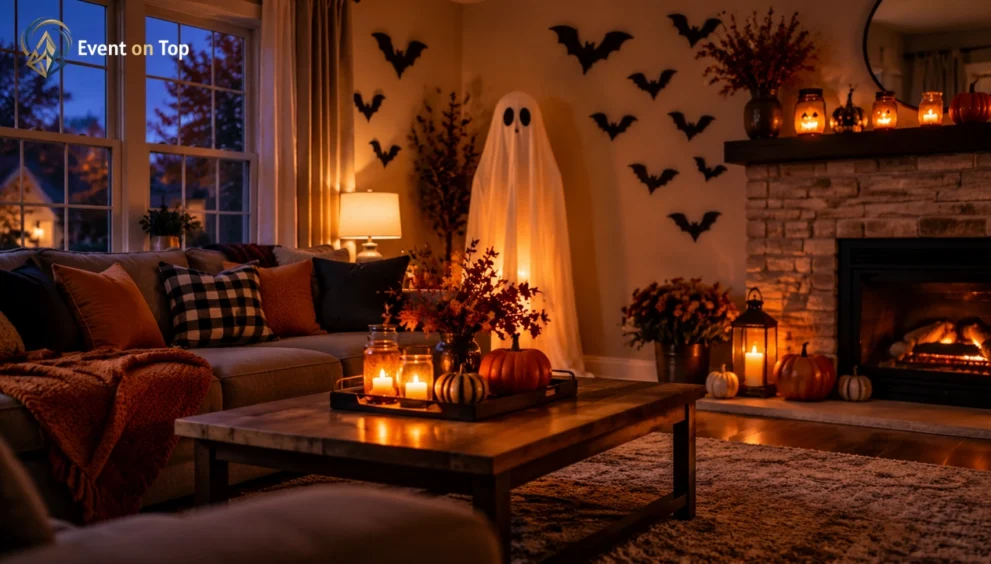
If you only fix one room, fix this one — and fix it with light, not objects. Bright overhead lighting makes every decoration look like a craft project. Low, warm, uneven light makes the same room look haunted.
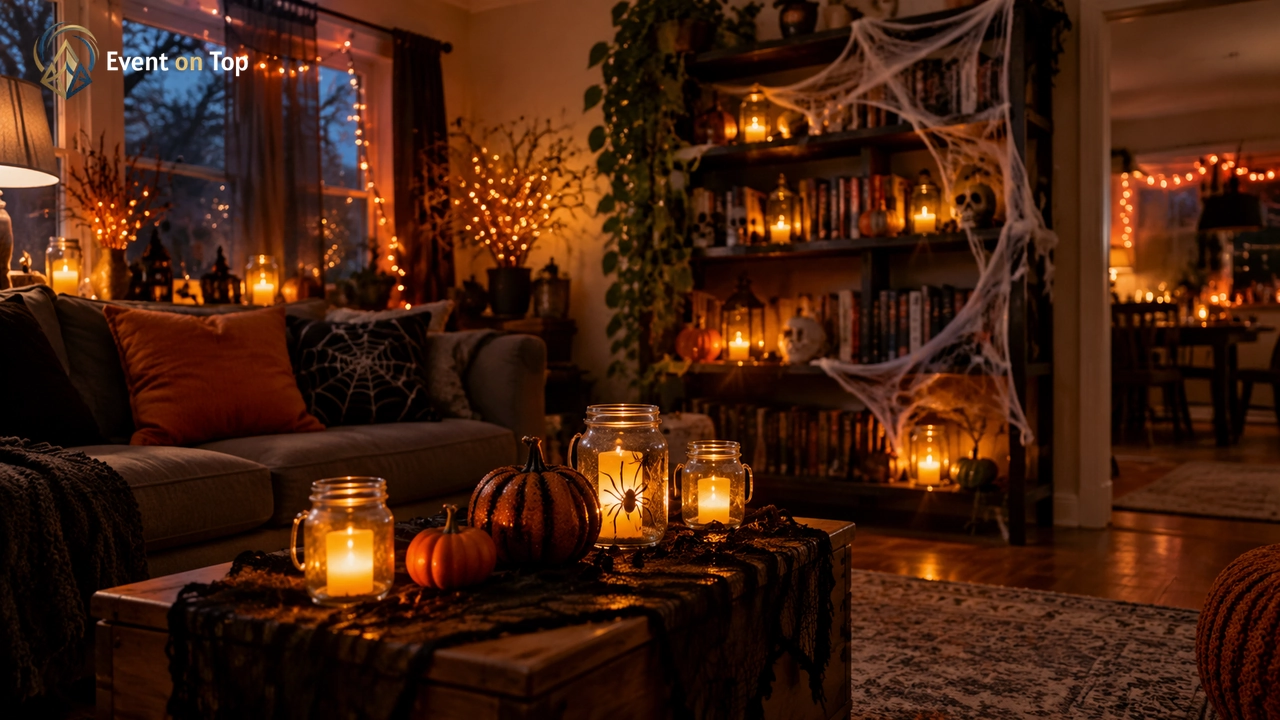
Kill the overheads. Turn off ceiling lights and rely on lamps, string lights, and candles-in-jars instead. String lights you already own — plain white or warm ones, whatever’s in the storage box — can snake along a mantel, around a doorway, or inside a glass bowl as a glowing nest. Never drape fabric, paper, or sheets over a lamp or bulb to tint the light; heat and cloth are a fire risk. The dimming comes from using fewer lights, not covering them.
Jar lanterns. Drop a battery tea light into every clean jar you have — jam jars, mason jars, drinking glasses — and cluster them in threes on shelves, steps, and the mantel. Battery lights are the only lights that go anywhere near this article’s paper and fabric decor: no real flame beside paper bats, cotton webs, or a sheet ghost, ever. If you want real candles too, keep them inside glass, on a clear hard surface, with nothing paper or fabric within reach — or skip them entirely tonight.
Cotton-ball webs. Pull cotton balls apart and stretch the wisps across picture frames, bookshelf corners, and the mantel edge. Stretched thin, they read as cobwebs; a paper spider or two (a black circle with eight strip legs) completes it.
Color swap. You don’t need orange cushions. Pull every orange, black, rust, and dark-red item you already own — blankets, books, towels, a bowl of oranges — into this one room, and move the pastel stuff out. Concentrating the colors you have beats sprinkling them thinly across the whole house.
Kitchen & Party-Table Fixes
The kitchen and food table get looked at all night, so they earn their ten minutes.
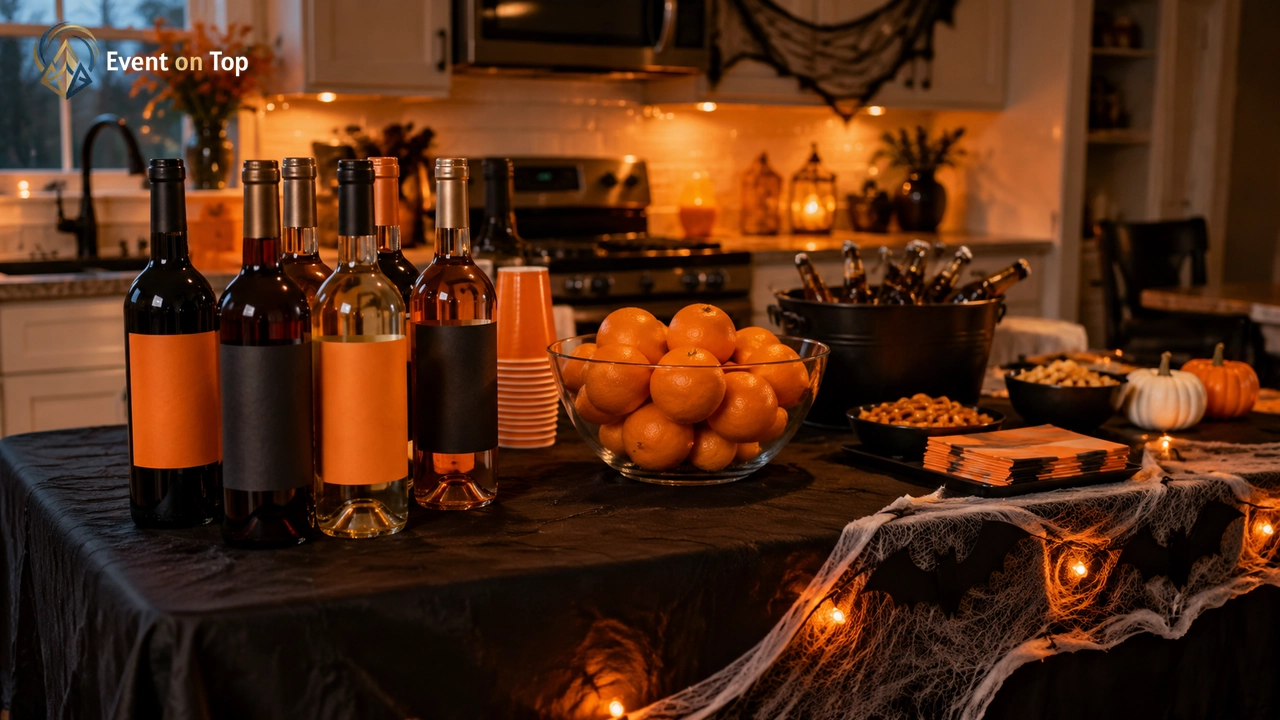
Trash-bag tablecloth. A black trash bag, slit open and spread flat, is an instant table cover that also makes cleanup a two-minute job at midnight. Layer a white sheet or towels as a runner if the table still looks bare.
Potion-bottle labels. Cut small rectangles of paper, write ingredient-style labels in marker — “Swamp Water,” “Witch’s Brew,” “Truth Serum (Lemonade)” — and tape them to whatever bottles and pitchers you’re actually serving from. It’s the fastest transformation in this whole guide: same drinks, new story. Keep labels on serving drinks only, and make sure the real contents are still obvious to guests with allergies — a small honest note under the joke label does it.
Food as decor. Arrange what you’re serving in Halloween shapes and piles: a bowl of oranges with one paper stem on each becomes a pumpkin patch; popcorn in a black bowl (or a trash-bag-lined basket) becomes “ghost corn.” Put the food out in the living room rather than the kitchen if you want guests to drift that way.
Cabinet webs and fridge bats. Stretch cotton wisps across one or two cabinet corners and stick paper bats on the fridge door. Kitchens are bright and busy — two touches are enough; more just gets in the way of cooking.
Paper Window Silhouettes & Shadows
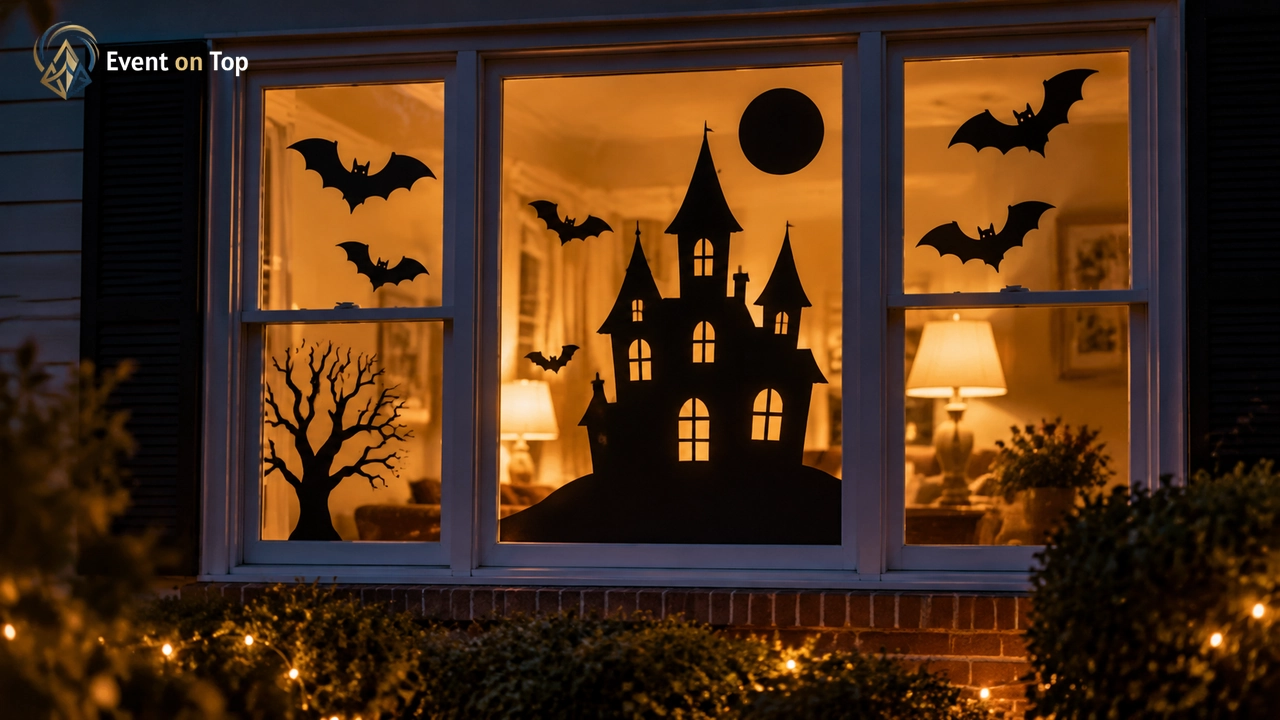
Windows are free advertising: a lit window with a silhouette in it decorates the room inside and the street outside at the same time, and it costs one sheet of paper.
Cut big, simple shapes from black paper, cardboard, or a cut-open black trash bag — simple is essential, because silhouettes are read as outlines. The reliable five: bats (a wide M-curve with a bump in the middle), a cat (sitting profile, triangle ears, curled tail), a haunted house (rectangle, triangle roof, one crooked tower), a witch’s hat (triangle plus a brim line), and pumpkins (an oval with a stem and a grin cut out rather than drawn). Tape them to the inside of the window, facing out. When the room lights come on at dusk, the shapes go black against the glow on their own — no special backlight needed.
Two upgrades if time allows: hang a few bats from the curtain rod on thread at different heights so they move, and leave one window with a single large silhouette — a lone haunted house in one window looks more deliberate than small shapes scattered across all of them. Keep paper silhouettes on glass only; never tape paper over or beside a heat vent, stove, or any light fixture, and if a window gets a silhouette, that room’s candles stay battery-only.
The Bathroom Surprise (and Other Small Rooms)
Decorating one tiny room nobody expects is the move guests talk about afterward — and a bathroom takes five minutes because it’s small.
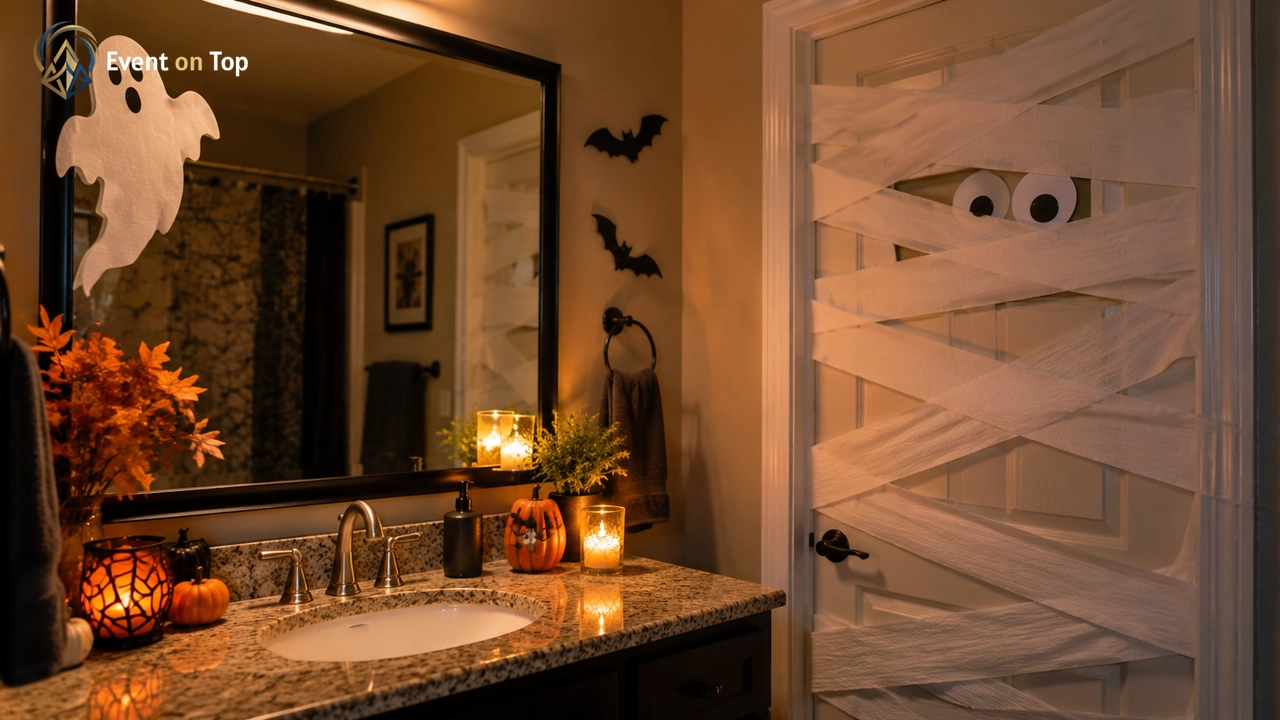
The mirror ghost. Cut a simple ghost from white paper — dome top, wavy bottom, two eyes — and tape it to the corner of the bathroom mirror, as if it’s floating beside the reflection. Add a paper speech bubble if you’re feeling brave: “Boo.”
The mummy door. Wrap the outside of the bathroom door (or a hallway door) in crisscrossed strips of toilet paper or cut white paper streamers, then tape on two big paper eyes peeking through a gap. It reads instantly as a mummy. Toilet paper near a bathroom sink is fine; keep it on the door’s outside, away from any candle or heater — and this room, like every paper-decorated room, gets battery light only.
Sink spider. One paper spider, made like the bookshelf ones, sitting on the tap or the soap dish. Small, silly, effective.
Hallway and stairs. If you have five spare minutes after the bathroom: bats up the stair wall in a rising trail, and any leftover jar lanterns on the steps against the wall — battery lights only on stairs, never real flame where people walk and brush past.
What NOT to Bother With Tonight
Half of last-minute decorating is deciding what to skip. Tonight, skip these without guilt:
- Anything that needs drying time. Paint, glue, and paper-mâché started today are tomorrow’s decorations.
- A full yard haunt. You have the door section above; a whole themed yard is a weekend project, not a same-day one.
- Intricate pumpkin stencils. A classic triangle grin glows exactly as brightly as a detailed portrait carving. Carve simple or don’t carve.
- Matching everything. Coordinated sets are for people who started in September. Repeated shapes and one color story (black, white, orange) will make your house look planned anyway.
- Decorating every room. Door, living room, kitchen table, one surprise room. Guests will never open the other doors, and if they do, a closed door is its own mystery.
- Real candles among the paper. Not a shortcut, a hazard. Every paper, cardboard, cotton, and fabric item in this guide stays paired with battery light only.
Frequently Asked Questions
How long does it really take to decorate a house for Halloween at the last minute? About an hour for the version in this guide: ten minutes at the door, one batch of paper cutting, then one pass through the living room, kitchen, windows, and one small room. The secret is working in that order and cutting everything in a single sitting, not decorating room by room from scratch.
I own zero Halloween decorations. Can I still do this? Yes — that’s the exact situation this guide assumes. The full supply list is trash bags, a sheet, paper, cardboard, cotton balls, jars, tape, scissors, and a marker. Every project above uses only those basics, in combinations. If you own string lights or battery tea lights, the lighting section gets easier, but jars near lamps still work.
How do I make a room look spooky fast without buying anything? Change the light, not the stuff. Turn off overhead lights, use the fewest warm light sources you can, cluster battery candles in jars, and pull your orange and black belongings into the one room. Dim, uneven light does more in five minutes than an hour of hanging decorations under bright white ceiling lights.
Is paper Halloween decor safe around candles? Only around battery candles. Paper, cardboard, cotton-ball webs, and fabric must never sit near a real flame or any heat source — that’s why every project in this guide pairs them with LED or battery tea lights. If you burn real candles at all tonight, keep them in glass, on a clear surface, in a room with no paper decor, and never leave them unattended.
What do I do with all of this on November 1? Flatten and save the silhouettes, tombstones, and labels in one folder or box — paper decor stores in almost no space and works again next year. Recycle anything torn, compost plain cardboard if your area takes it, and put the trash bags to their original use in the cleanup.
A House That Looks Haunted by Sundown
That’s the whole plan: a door that sets the scene, one batch of paper cutting, living-room light turned low, a labeled bottle or two, silhouettes in the windows, and a ghost in the bathroom mirror. An hour from now the house reads “Halloween” from the street — and everything in it was already yours this morning.
When the party’s over and you’re ready to plan something bigger for next time — the best haunted houses, parades, and festivals worth traveling for — start with our guide to family Halloween events.